
Today a thought I would share a quick pictorial of the process I used for creating the tags for the 7 Dots Studio & Helmar Promo Week.

Gather all materials

Squish Distress Ink directly on non-stick craft sheet
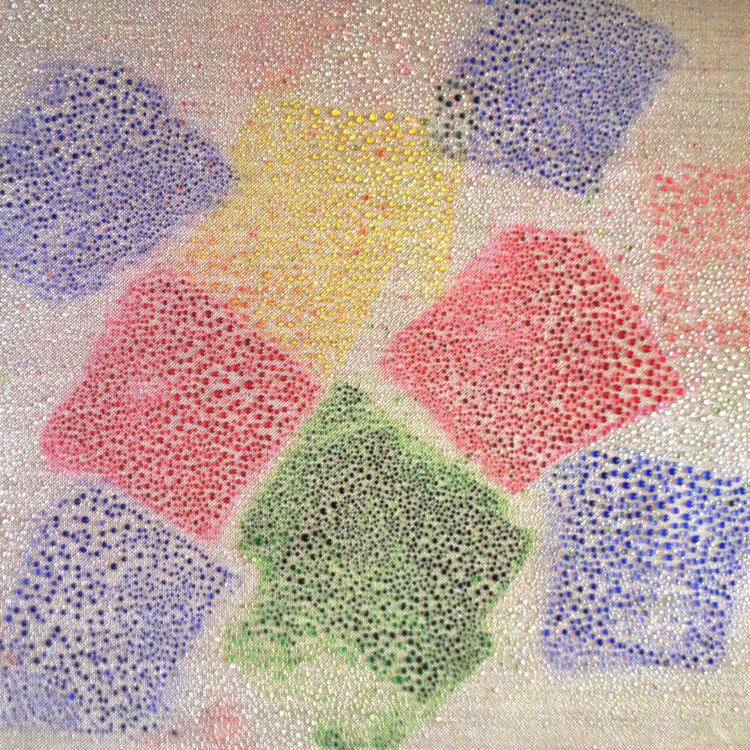
Spritz with water...look how the colors
have intensified

Oops...left tag MUDDY...why?
This was the 2nd tag and 2 complementary colors
had mixed together...not pretty!

Fixed tag by adding Distress Ink directly on tag ;)

Distress edges with my favorite brown...
Gathered Twigs

Adds just the right amount of depth & interest

The muddy tag all fixed...happy dance!

Embossing with Distress Ink applied to embossing plate

Layering papers for tags


Hmmm...thinking...the hardest part ;)


Finished tags

Materials used:
7 Dots Studio ~ Hopefully Collection
Inkessentials Craft Taga #10 Manilla
Gathered Twigs
Squeezed Lemonade
Mowed Lawn
Spun Sugar
Shaded Lilac
Vagabond Die Cutting System
Tim Holtz Alterations ~ Mini Paper Rosettes
Sizzix Embossing Folder ~ Paisley Palooza
Helmar Acid Free Professional Glue
Helmar 450 Quick Dry Adhesive
Thanks for stopping by...I love making tags...do you?

I adore the soft colors used on these tags. Great minds are in the "tag mode" these days! Bravo!!!
ReplyDeleteThese are gorgeous! I just loveeeee how you created those backgrounds!!
ReplyDeleteLove this tutorial. Great way to fix the left tag. Cheers. Hope you are well. Sarinda.
ReplyDeleteLove this tutorial. Great way to fix the left tag. Cheers. Hope you are well. Sarinda.
ReplyDelete